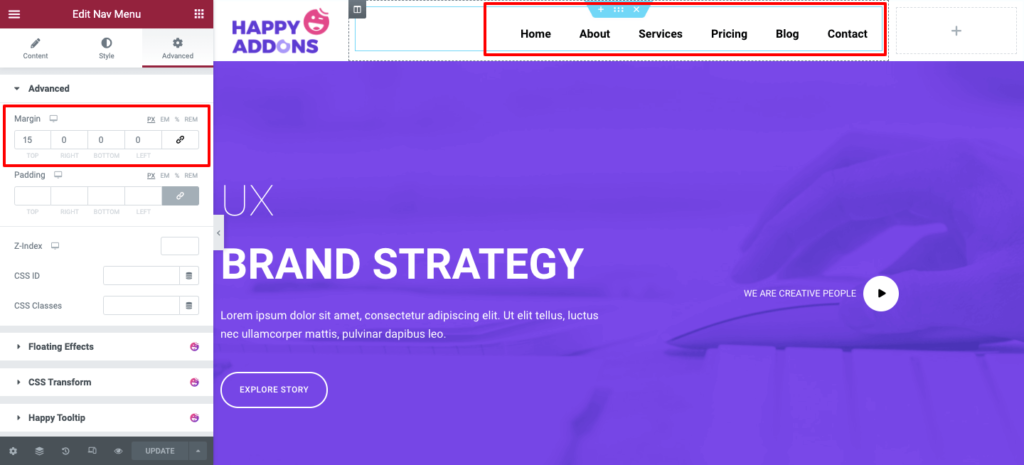
The header menu is a crucial part of any website, serving as the primary navigation tool for visitors. Elementor, a powerful page builder, makes it easy to customize your header menu and give your site a unique look. In this guide, we’ll walk you through editing the header menu in Elementor, even if you’re a complete beginner.
Effortlessly create stunning websites with our ready-to-use Premium Elementor Template Kits. Import them in just a few clicks and speed up your website-building process like never before!
Why Customize the Header Menu in Elementor?
- Improved User Experience: A well-structured menu helps visitors navigate your site easily.
- Brand Consistency: Customizing the menu ensures it aligns with your brand’s colors and style.
- Responsive Design: Elementor lets you create menus that look great on all devices.
Steps to Edit the Header Menu in Elementor
1. Access the Header Template
To start editing your header menu, you need to access the header template:
- Go to Dashboard > Templates > Theme Builder.
- Select the Header template or create a new one.

2. Add a Navigation Menu Widget
- Drag and drop the Navigation Menu widget into the header section.
- This widget connects to the WordPress menu you’ve created.
3. Create or Edit Your Menu
- Navigate to Dashboard > Appearance > Menus.
- Create a new menu or edit an existing one. Add menu items, arrange them, and save your changes.
4. Customize the Menu Design
Elementor allows you to fully style your header menu:
- Typography: Adjust font size, family, and spacing.
- Colors: Change the background, text, hover, and active link colors.
- Alignment: Position the menu (left, center, or right).
5. Make the Menu Responsive
- Use Elementor’s Responsive Mode to ensure your menu adapts to mobile, tablet, and desktop screens.
- Adjust font size, menu layout, or create a hamburger menu for smaller devices.
Advanced Customization Options
Mega Menus
Create advanced dropdowns with Elementor plugins like ElementsKit or JetMenu to display more content within your menu.
Sticky Headers
Enable sticky headers so the menu remains visible as users scroll down the page. You can toggle this option in the Advanced Settings of your header template.
Custom Code for Additional Features
For developers, Elementor allows custom CSS for further tweaks to the header menu.
Troubleshooting Common Issues
- Menu Not Displaying Properly: Ensure the correct menu is assigned in the Navigation Menu widget settings.
- Design Not Updating: Clear your site and browser cache to view changes.
- Mobile Menu Issues: Double-check your responsive settings and preview the menu in mobile view.
Tips for Creating a Professional Header Menu
- Keep It Simple: Limit the number of menu items to avoid overwhelming visitors.
- Add Call-to-Action Buttons: Highlight important links like “Contact Us” or “Get Started.”
- Use Icons: Include icons next to menu items for better visual appeal.
FAQs
Q: Can I edit the header menu in Elementor Free?
Yes, but you’ll need Elementor Pro to use the Theme Builder for full header customization.
Q: What if I want different menus on different pages?
You can assign different menus using the Display Conditions feature in Elementor Pro.
Q: Can I add animations to my menu?
Yes, Elementor allows you to add hover animations and transitions to menu items.
Conclusion
Customizing the header menu in Elementor is a simple yet powerful way to enhance your website’s design and functionality. Whether you’re a beginner or an advanced user, Elementor provides the tools you need to create a navigation menu that aligns with your brand and improves user experience.
Start experimenting with your header menu today to give your site a professional touch!


